

You know what I hate? When a blogger writes a recipe and they tell you their life story and you are just like GIVE ME THE DANG RECIPE!!! So, I will refrain from doing that and get to it!
Recently, on the Real Peel Instagram, I showed myself making a sourdough starter and then the sourdough bread and I had a major influx of requests for the recipe. So, without further ado…
disclaimer: I am not a pro photographer or care to be, but I took the pics so you guys can see if you are on the right track while baking.

Making Your Starter
note the bubbles
2 cups warm water (not hot or boiling)
1 teaspoon active dry yeast
2 cups all-purpose flour (I don’t know how it would work with gluten-free, but if you try it, let me know)
In a bowl, add the warm water and yeast. Mix until the yeast is dissolved. Once dissolved, mix in the flour and stir until smooth.
Pour the starter into a plastic container that is big enough to allow for expansion. I, personally, used a plastic pitcher. Place a cloth napkin over the container and hold it in place with a rubber band.
Set the starter in a spot that doesn’t get too cold or too warm, doesn’t have a lot of draft and not a ton of sunlight for 5 days. Stir the starter once a day.
After the 5 days, it is ready to be used or put into the fridge for storing. If you keep it in the fridge, you only have to feed it 1 time per week with equal amounts of flour and water.
Making the Sourdough Bread
this recipe is adapted from Cultured Food Life
You will need:
1/4 cup of your starter
1 1/3 cups plus 2 tbsp of warm water (again not boiling, just warm)
4 cups plus 2 tablespoons of all-purpose flour (I personally haven’t tried other flours)
1 1/2 teaspoons of sea salt
a Dutch Oven
Parchment paper
Whisk
Spatula
Tip: it’s so much easier to gather all ingredients before you start mixing.
Add the starter and warm water to a ceramic bowl. Whisk until well combined
Add the flour and salt and combine together with a stiff spatula until fully incorporated. If you want to use your hands, go for it, but it’s not required. The dough will look scrappy, dense and sticky.
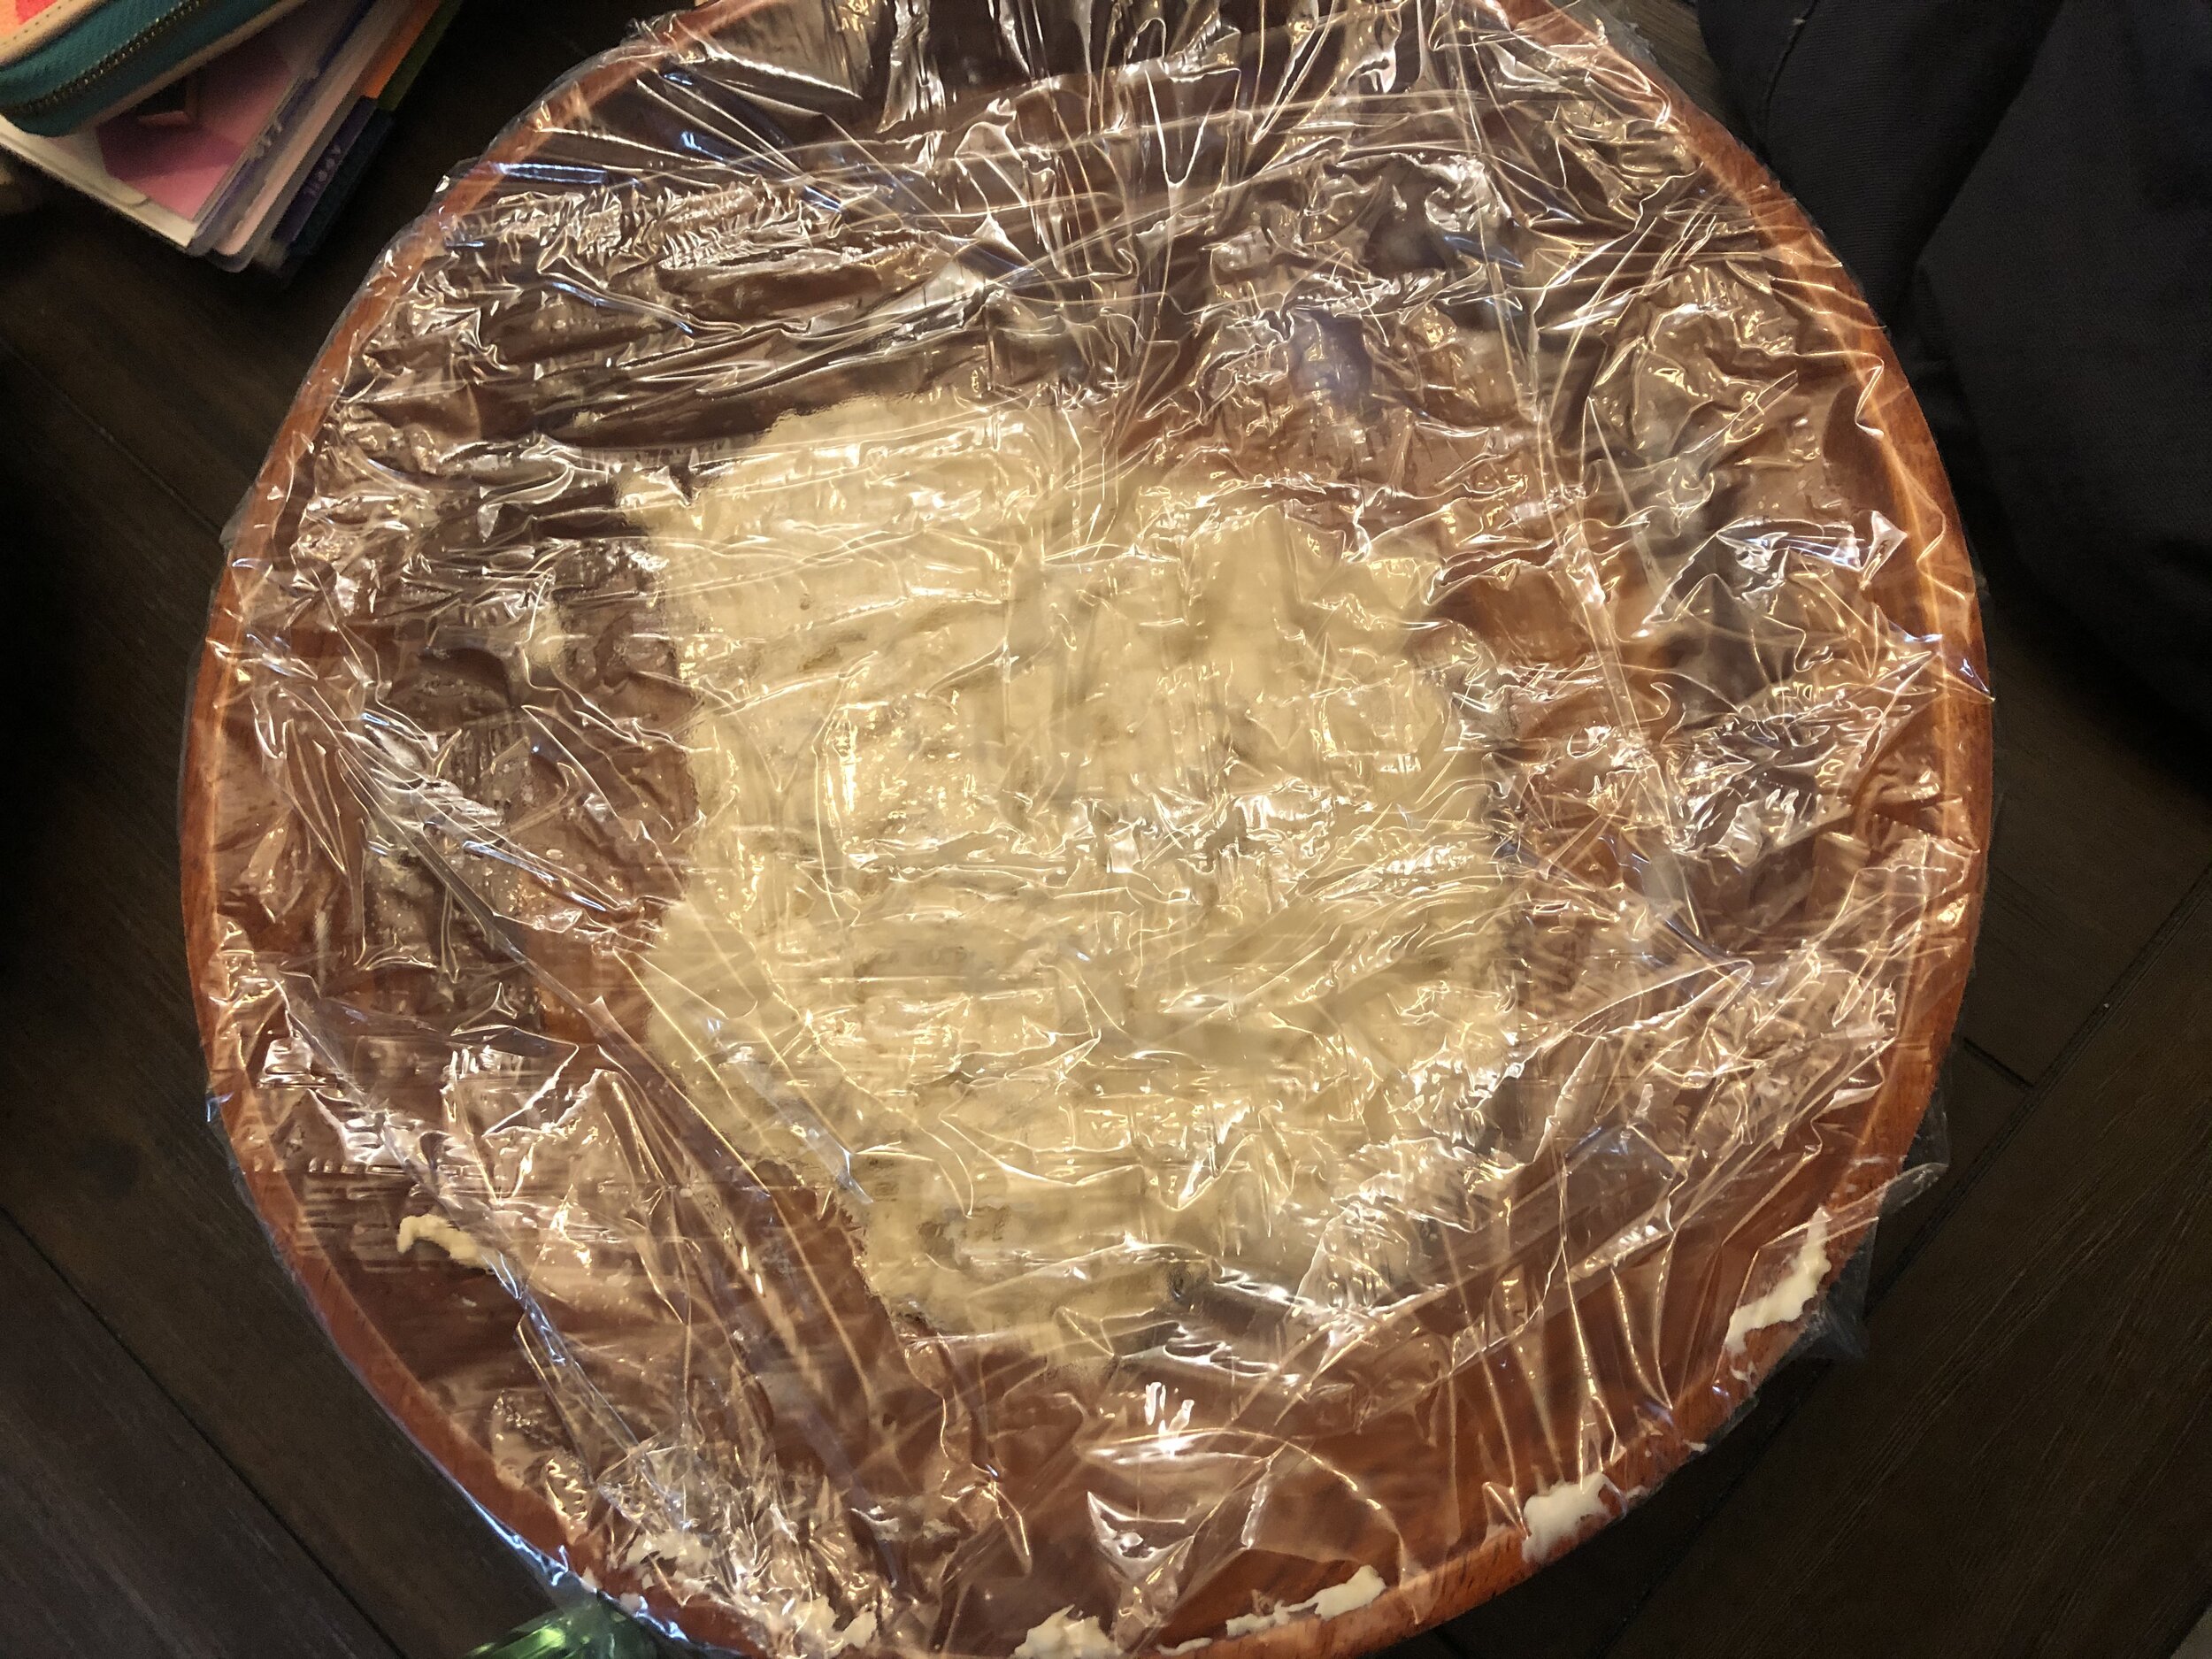
Cover the bowl with plastic wrap and let sit for 30 minutes.
After the 30 minutes, flour your hands and work the dough into a smoother ball. You can achieve this by folding the dough towards the center until it smooths out.
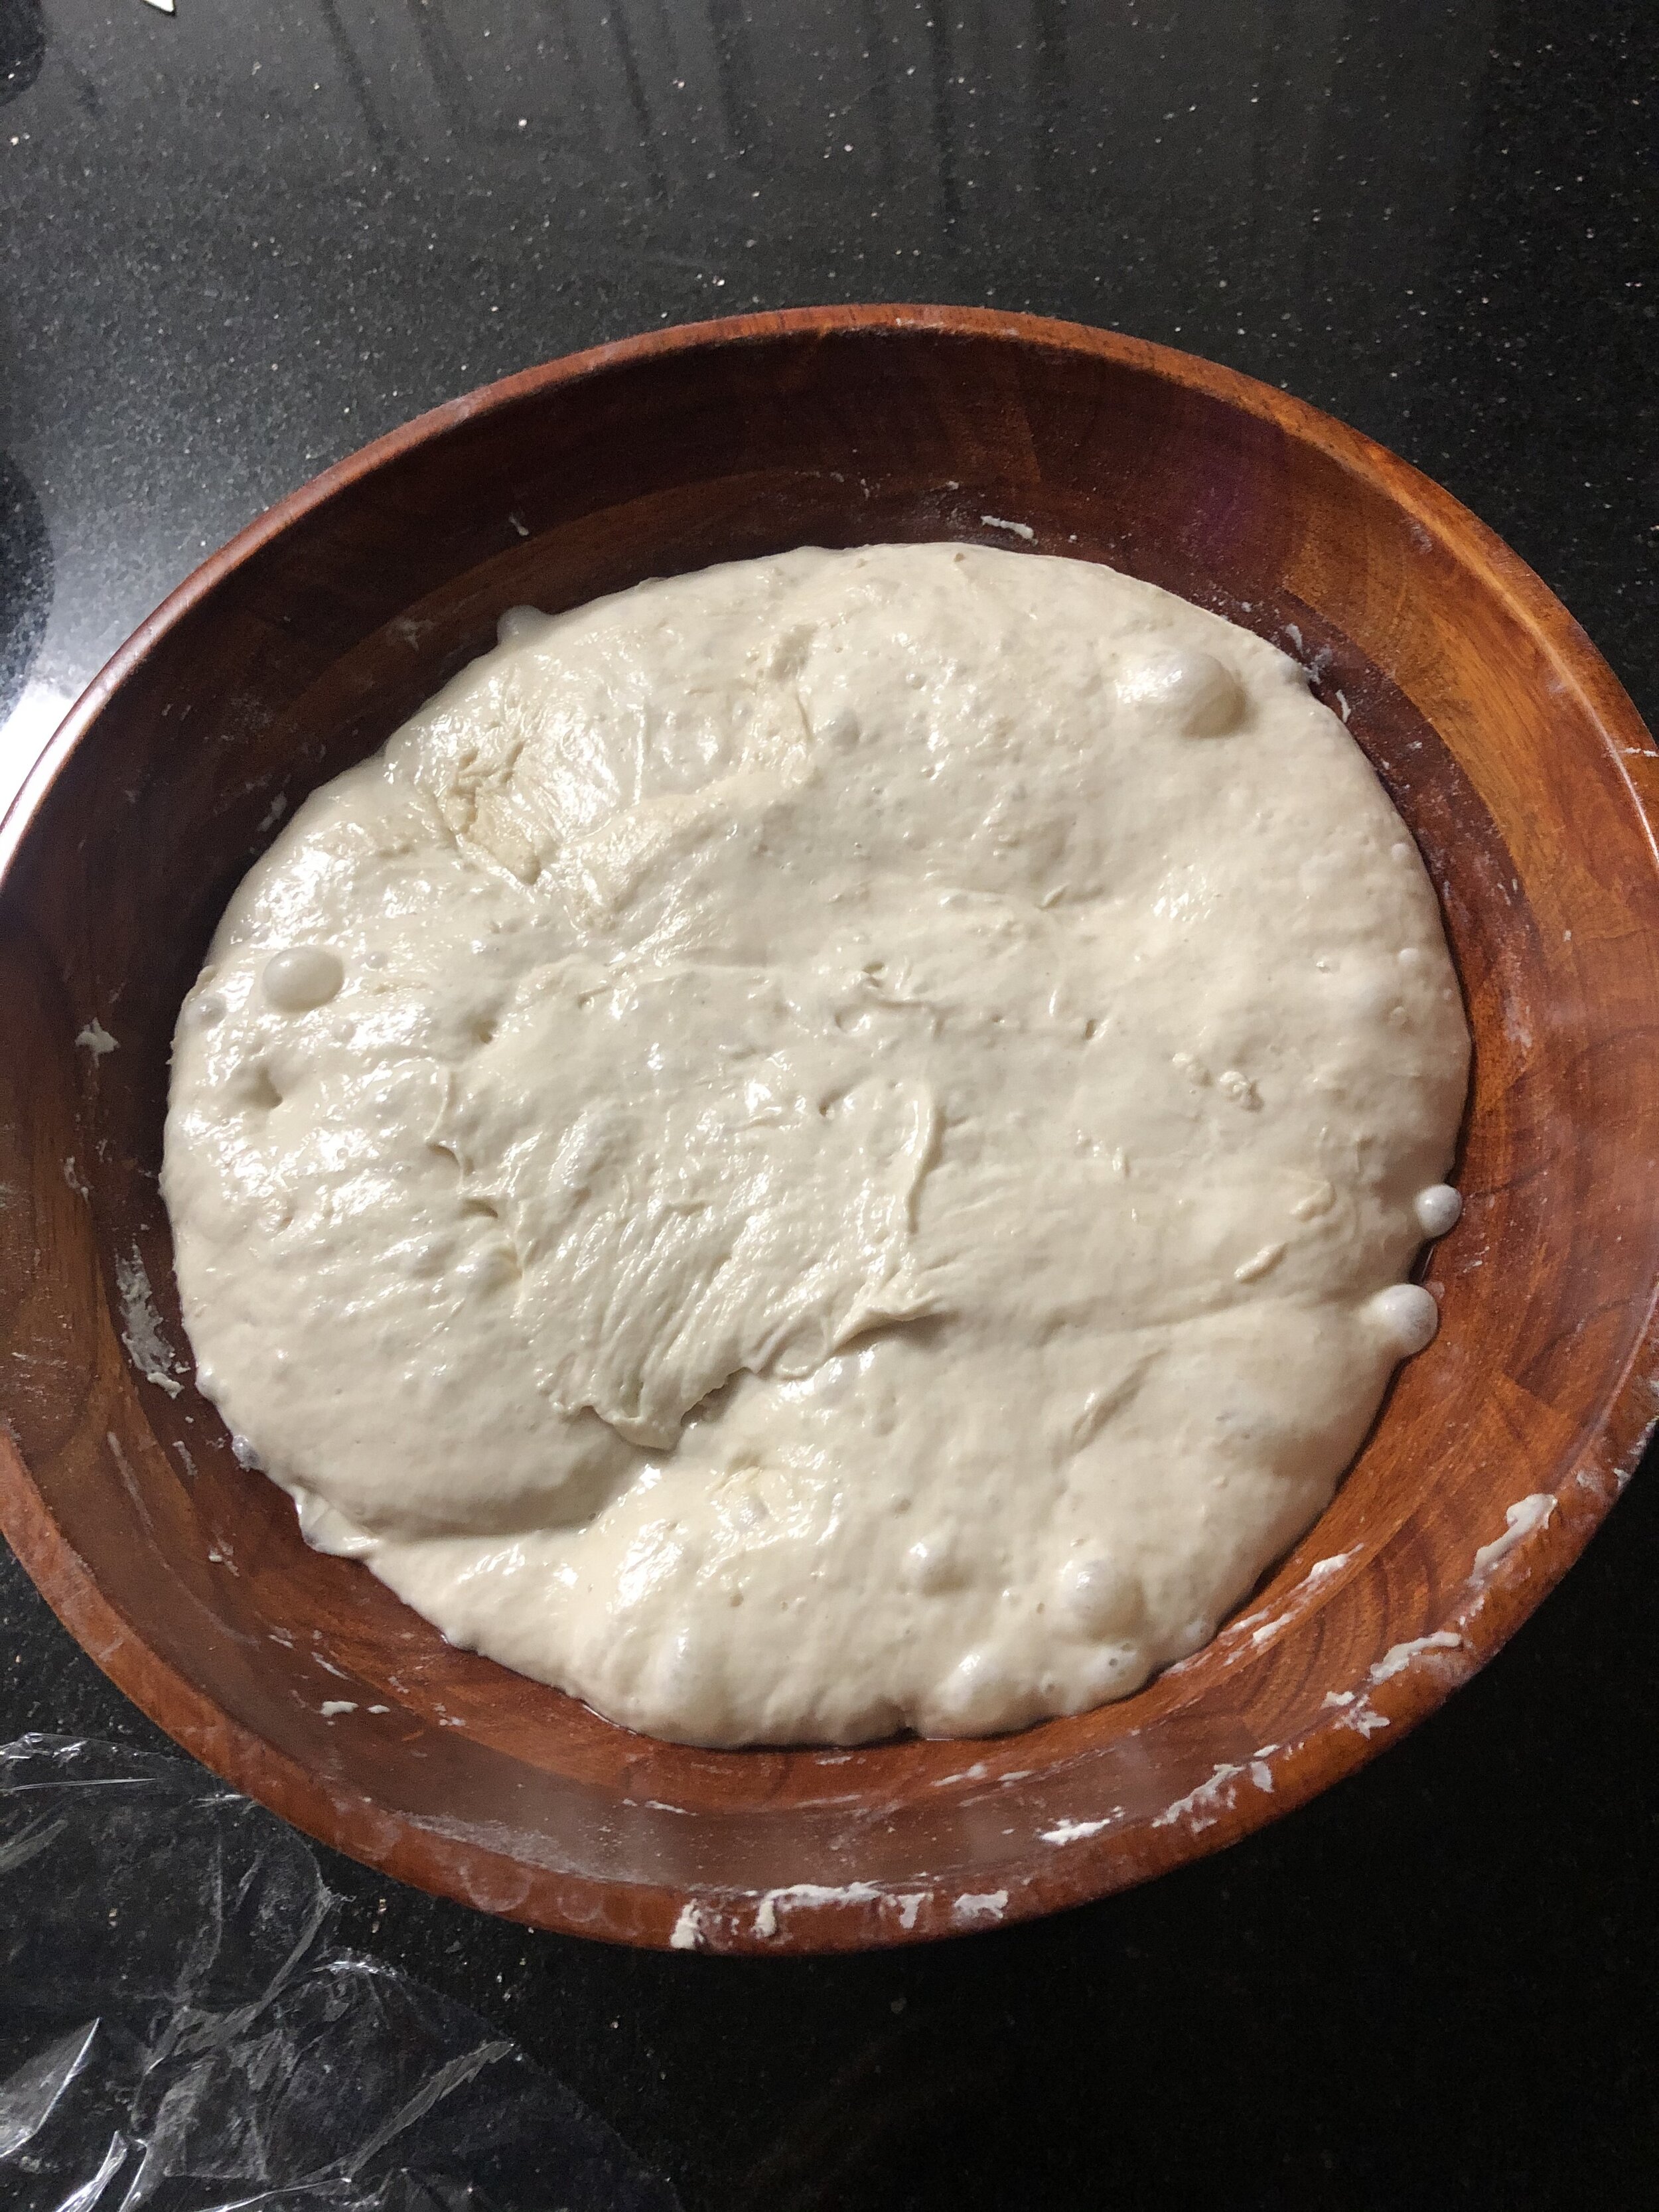
Place the dough back in the bowl and let rise 10 hours. You can also do this overnight. It should rise and look a lot puffier.
Use the spatula to gently pull the dough off the sides of the bowl and turn out onto a floured surface. Flour your hands and begin folding the dough over again on each side.
Let rest for 10 minutes
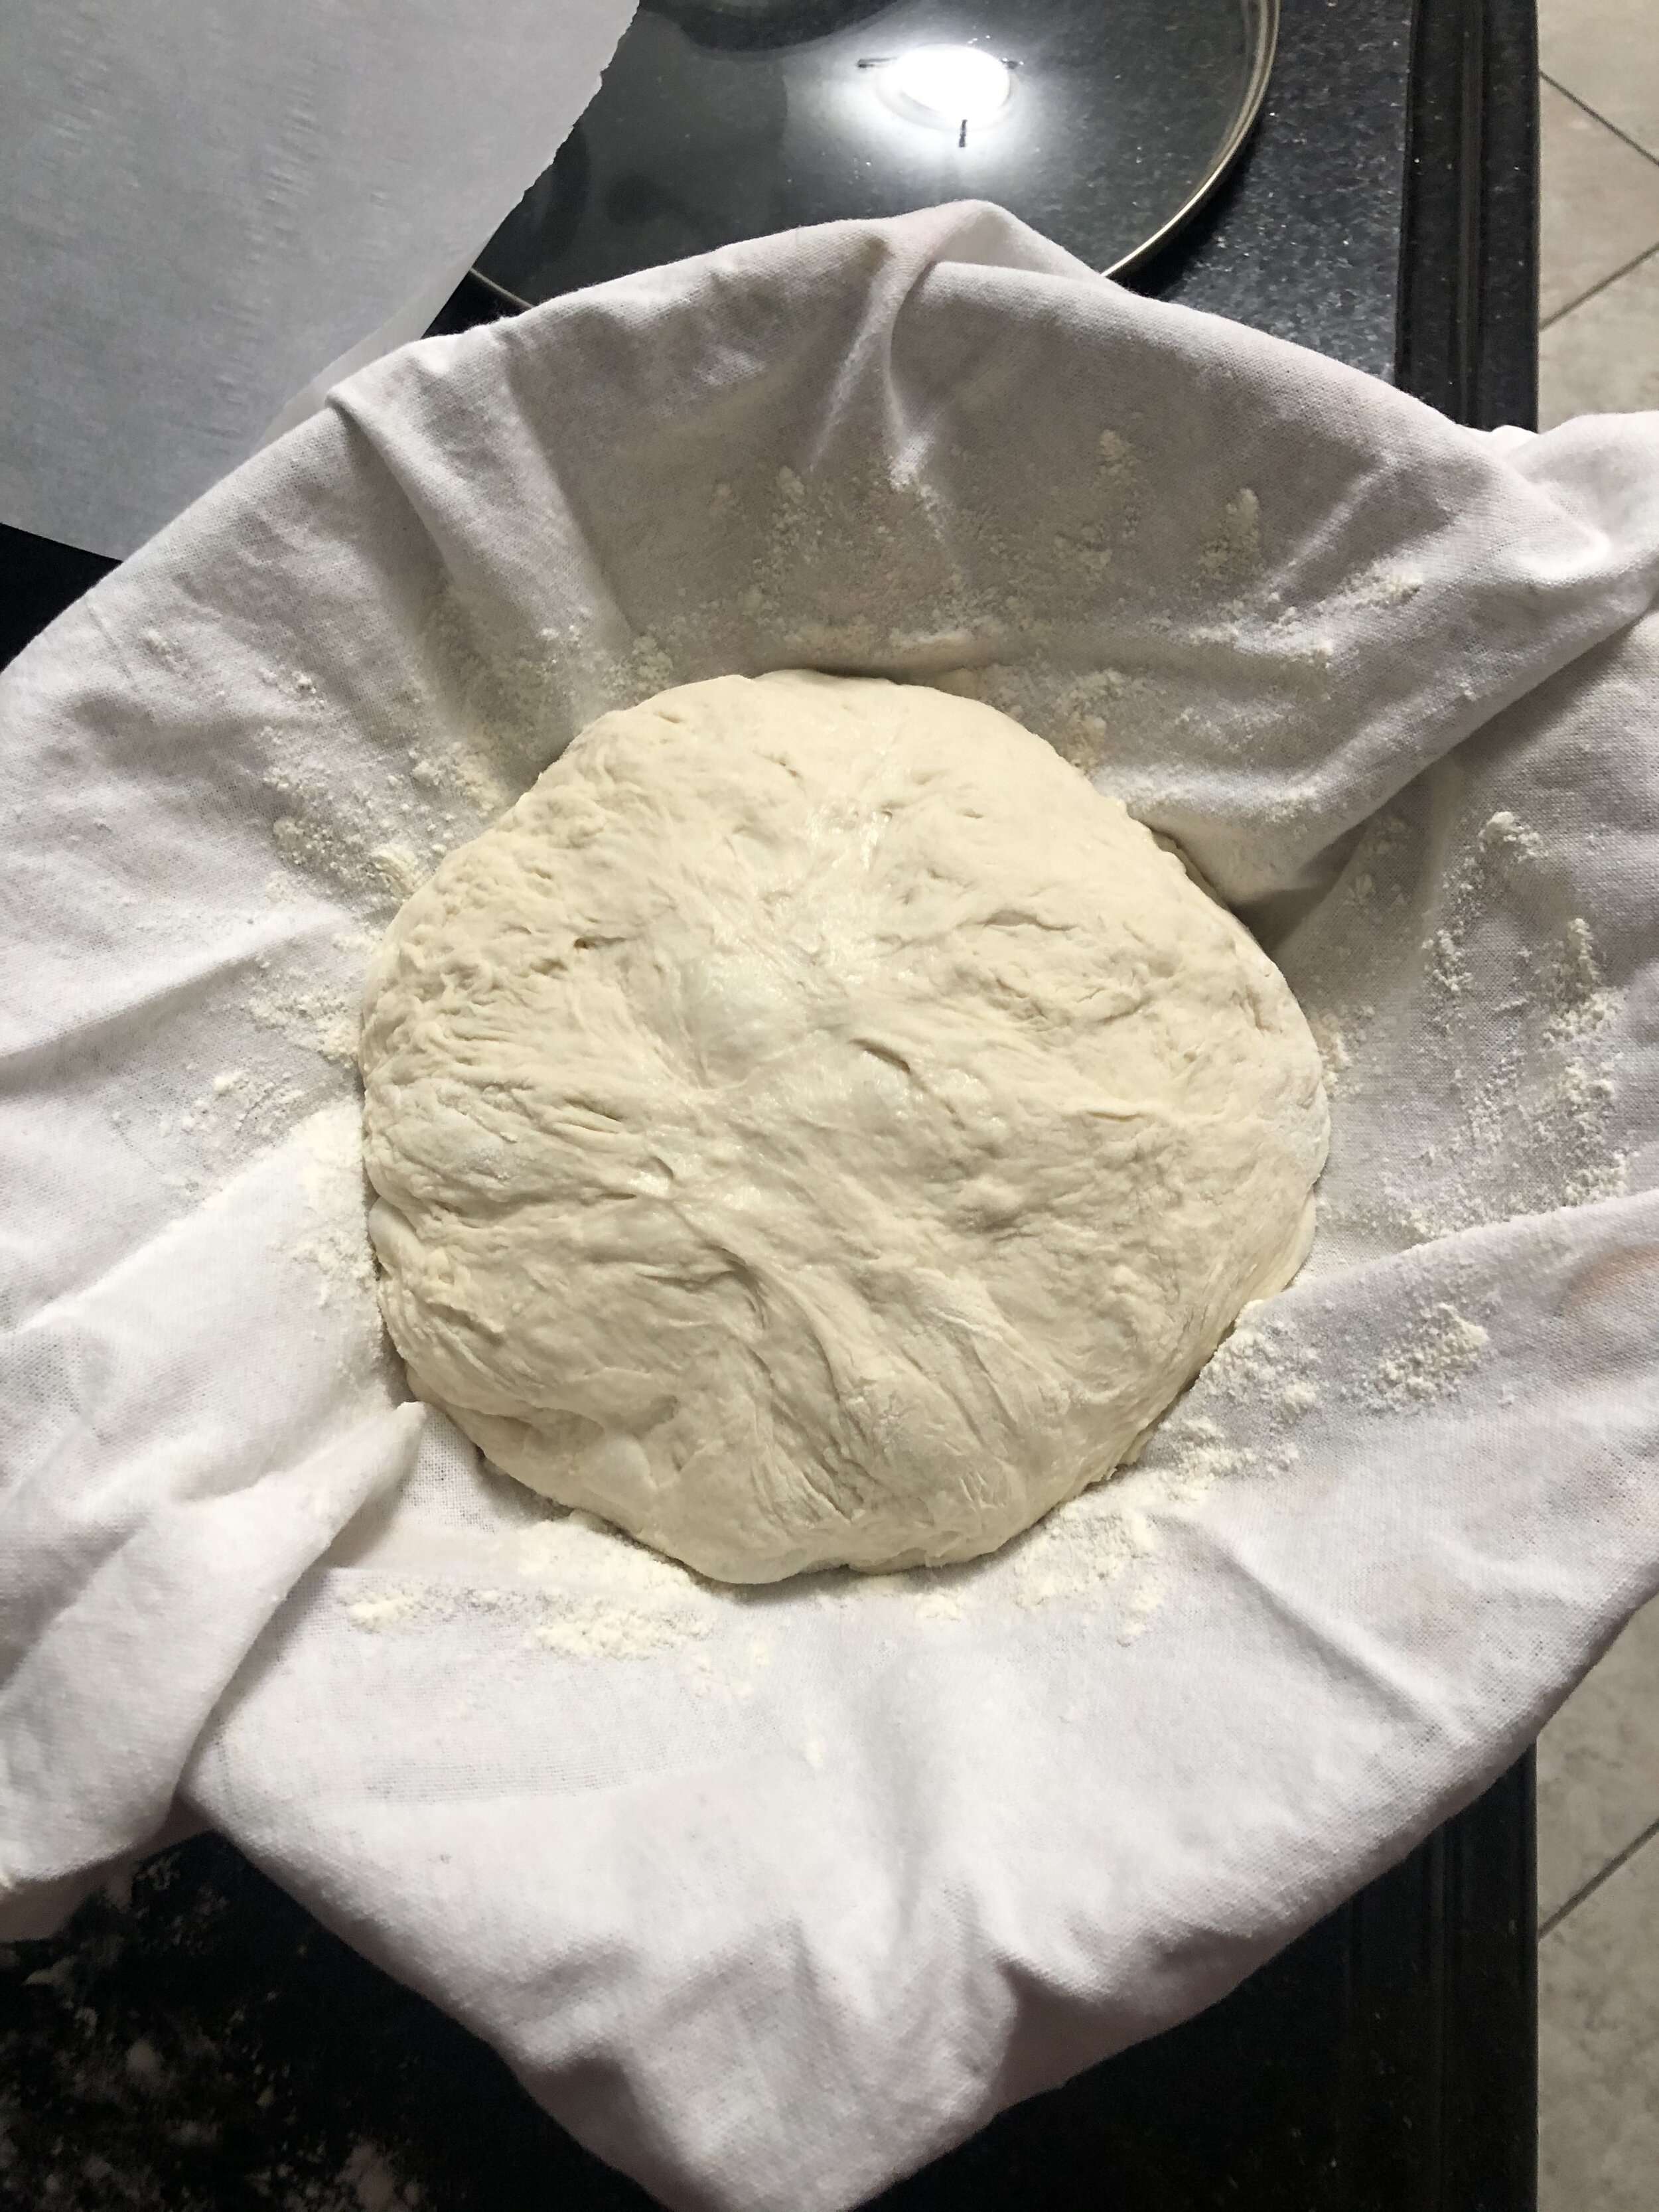
Line a large bowl with a linen towel. (don’t use a towel that produces lint lol)
Dust the bowl & towel with flour. Place the dough with the seam side up.
Cover it and let it rest for 1 hour.
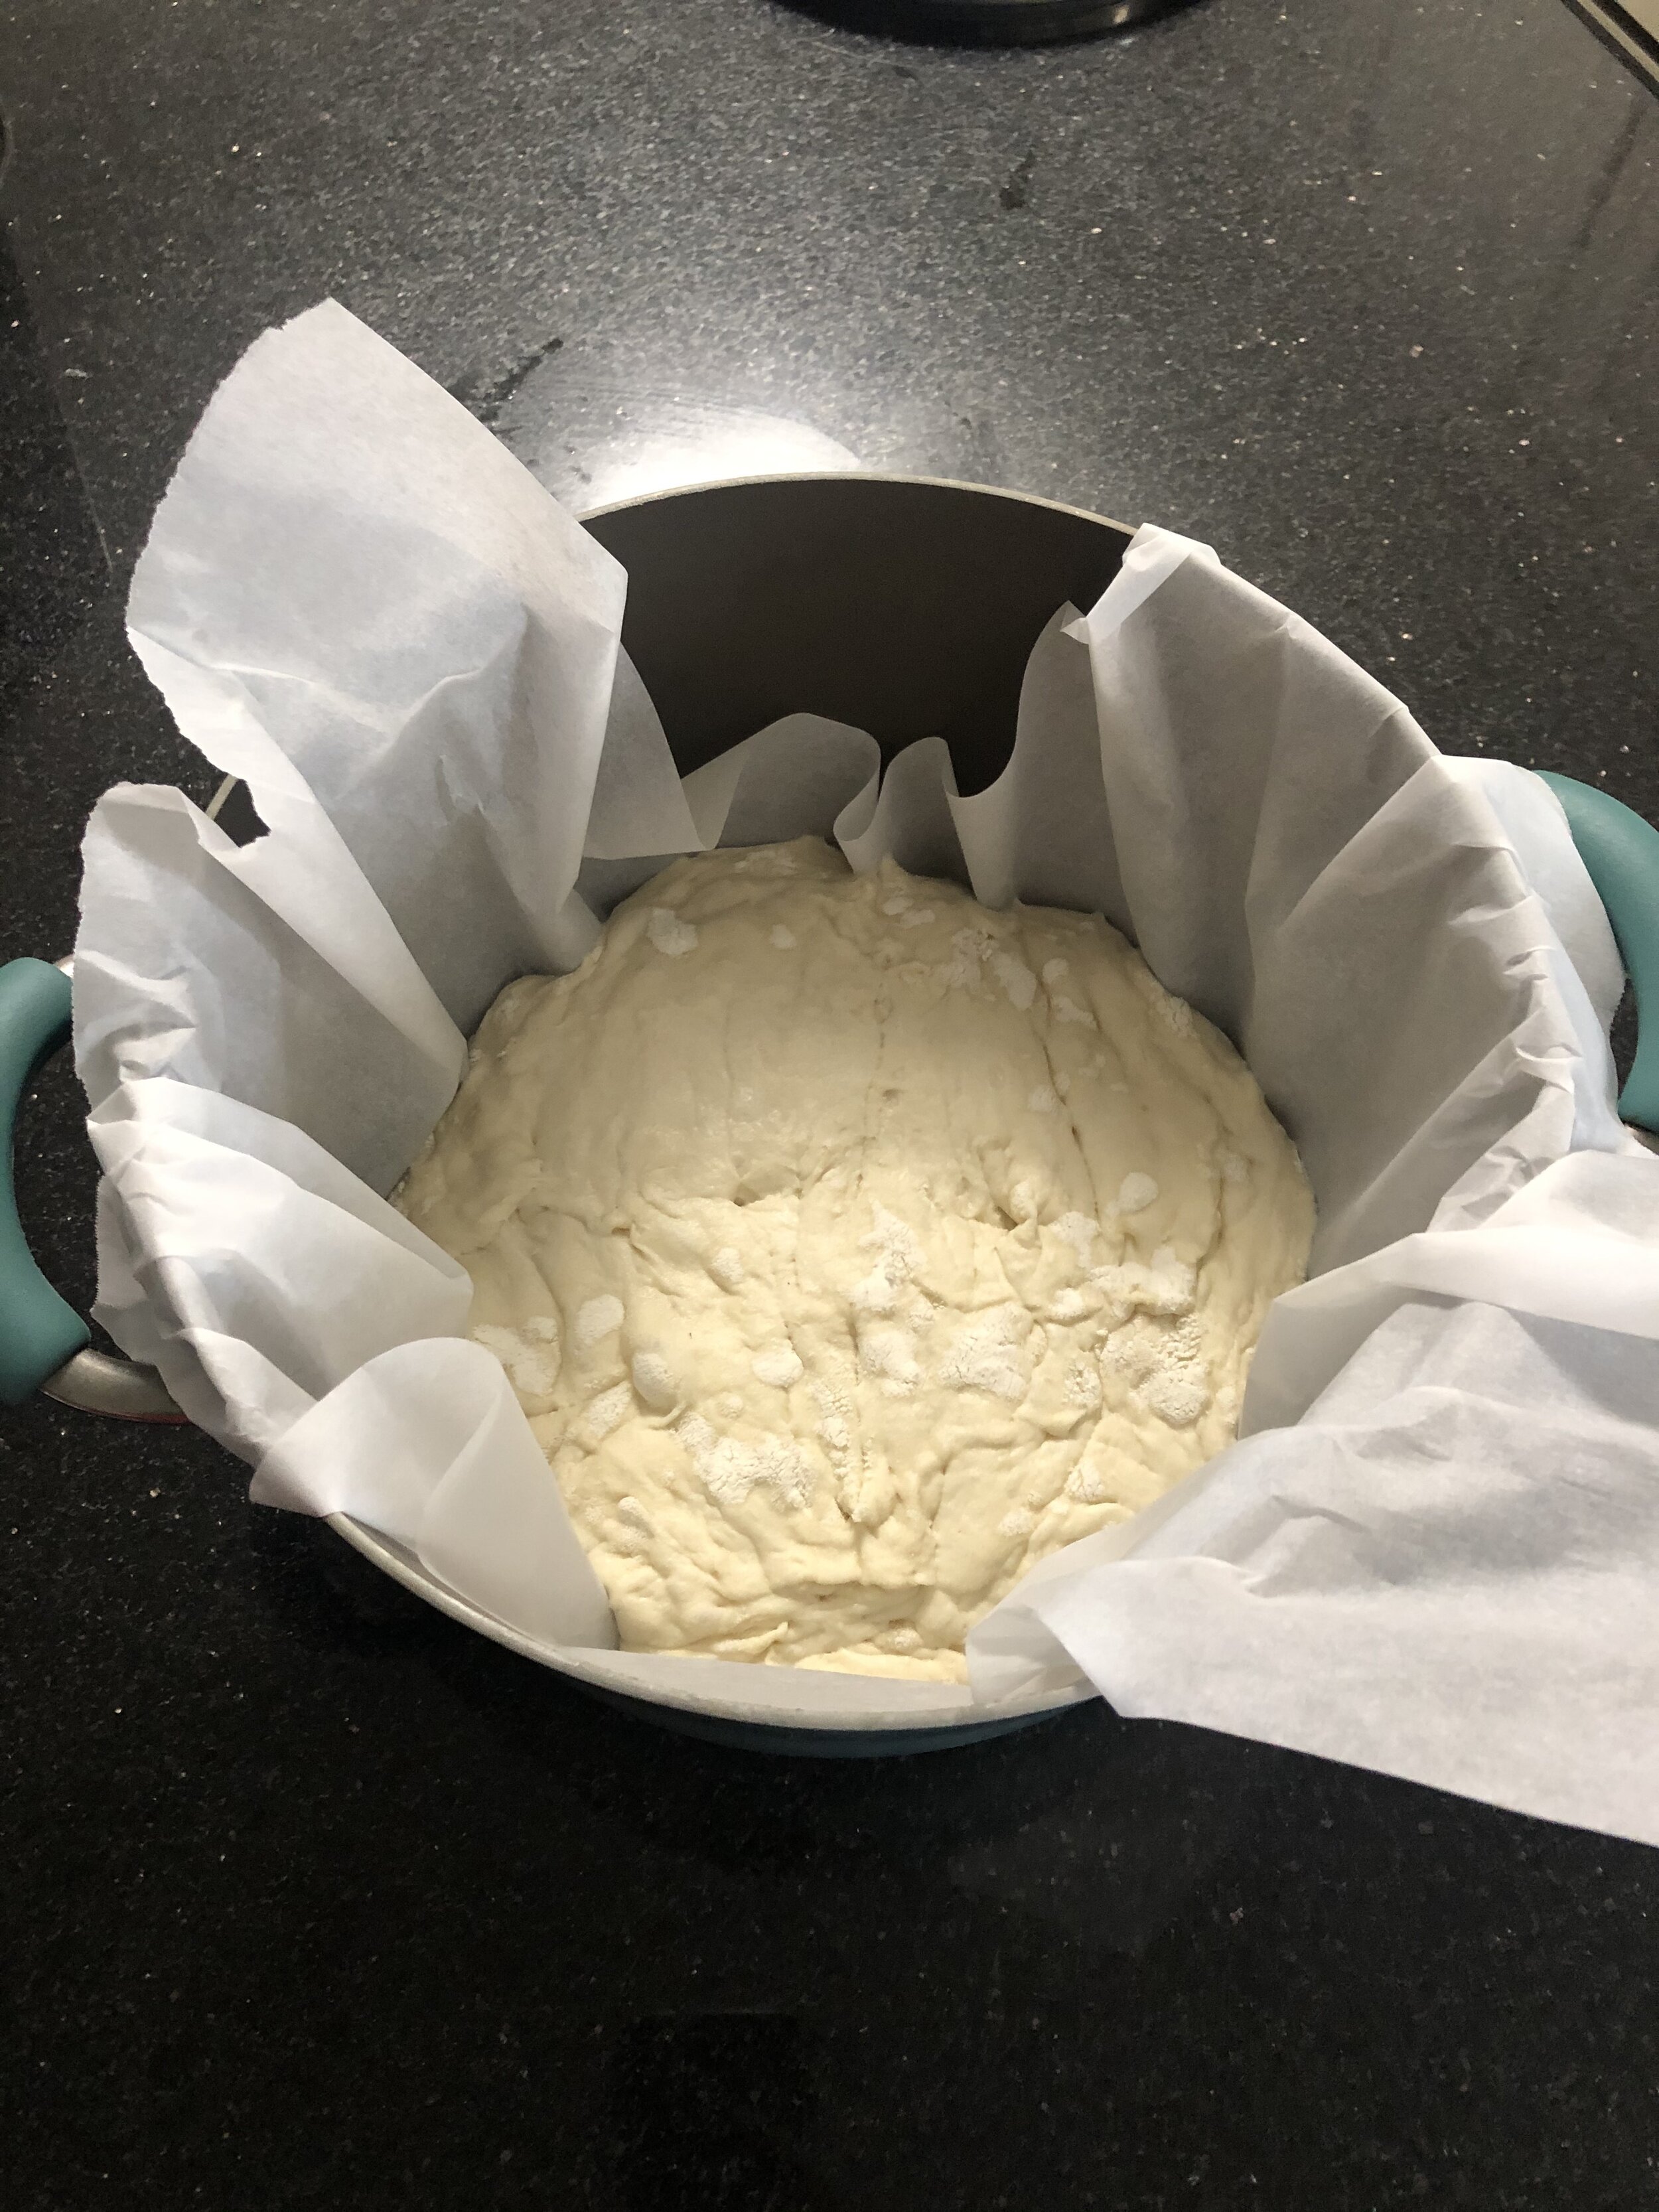
Preheat oven to 450 degrees. Cut a piece of parchment paper to fit your Dutch Oven. Make sure there’s excess so that you can use it like “handles” to take the bread out of the pot.
Place the parchment paper over the bowl and turn the bowl over to allow the dough to fall right onto the paper.
Use a knife and make 4 little cuts. Or if you want to do a fun design, go for it.
Pick up the dough and parchment and place in the pot, carefully.
Place the lid on the pot and put in the oven for 20 minutes.
Remove the lid and bake for another 20-30 minutes. My oven temp is slightly off so I cook for a shorter time. The longer you go, the darker the crust.
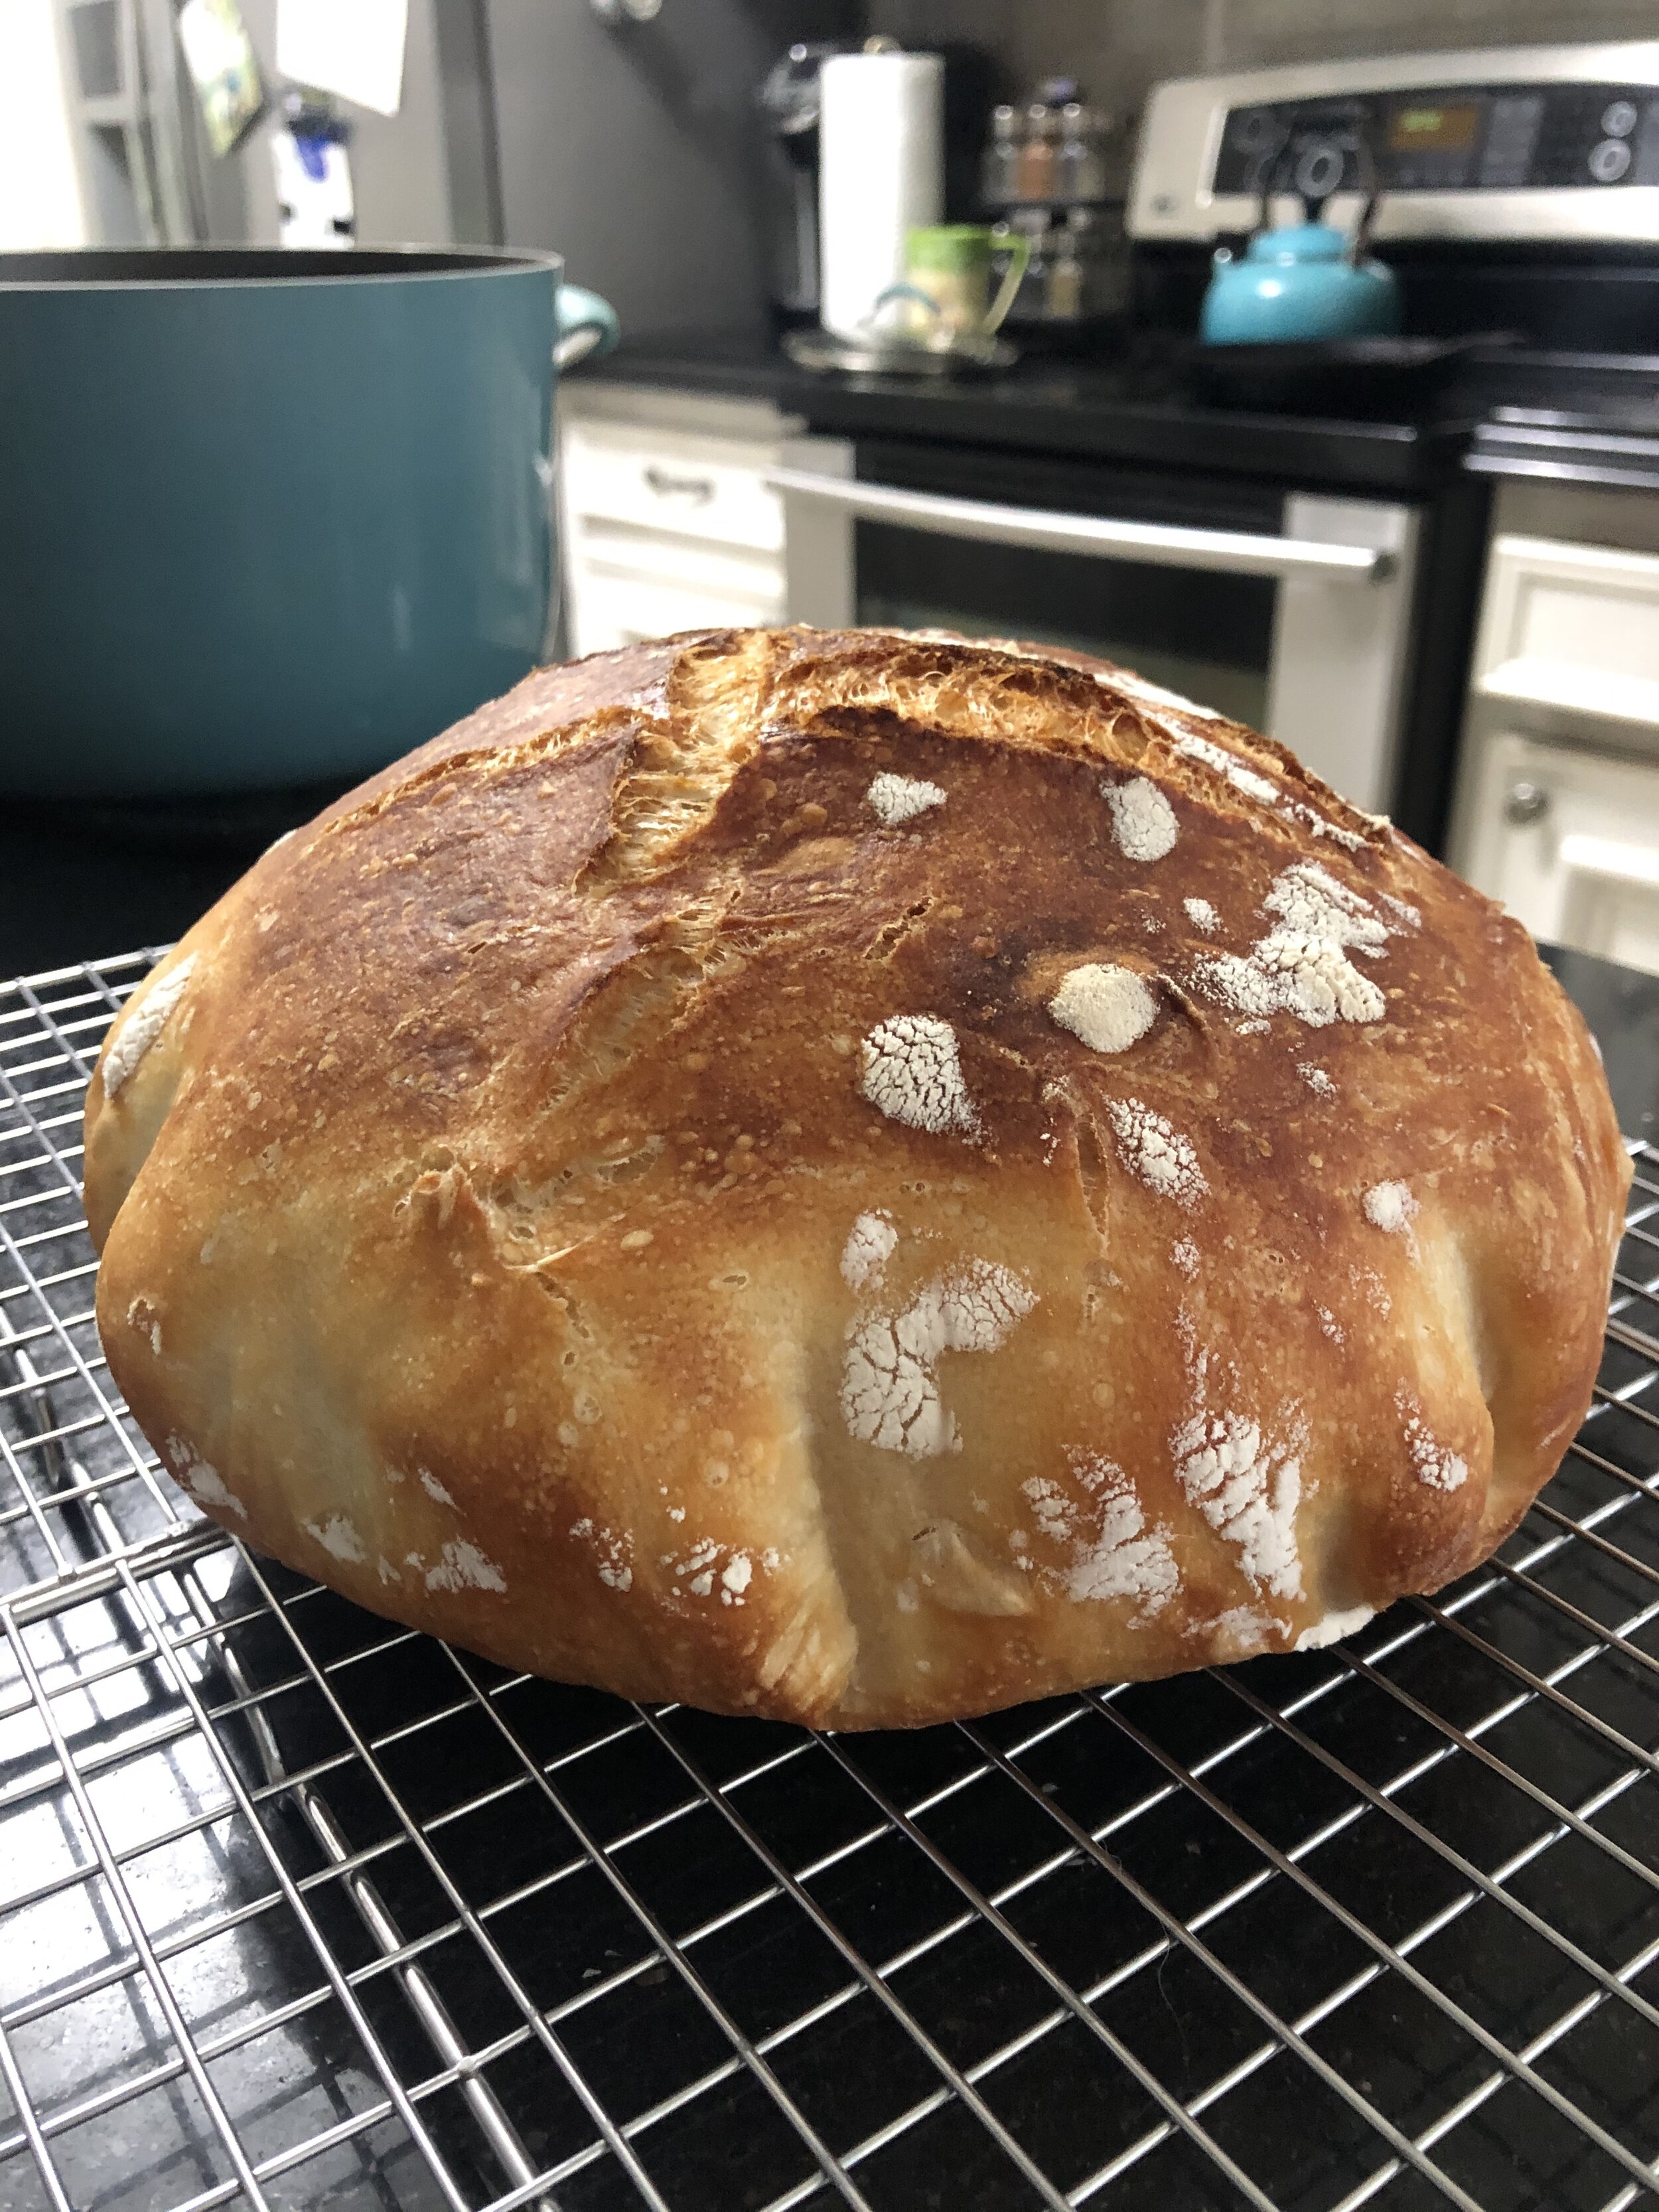
When done, remove the bread from the pot and cool on a cooling rack for a minimum of 20 minutes, which is so hard to do! The loaf will feel very hard and if you thump it, it will sound hollow. Don’t worry, after cooling down, it will soften right up.
Slice and enjoy with a little butter!
click on the right side of the images to scroll through the steps to see if you are on track!

I hope you guys enjoy the bread when you make it! If you try other versions, let me know! I also made a Rosemary Olive Oil loaf and will post updates for that recipe soon!
Love,
Aubrey